
FAIRFAX ROOF REPLACEMENT GUIDE
What to Expect During Roof Replacement
A clear, step-by-step look at preparation, tear-off, installation, cleanup, timing, noise, weather delays, and the final walkthrough.
Quick answer
A typical Fairfax roof replacement takes one to three days. The crew protects the property, removes the old roofing, checks the deck, repairs flashing where needed, installs underlayment and shingles, and cleans the site. Weather, roof size, pitch, material choice, hidden decking damage, and inspections can change the schedule. Your contractor should explain the scope and communicate any change before work continues.
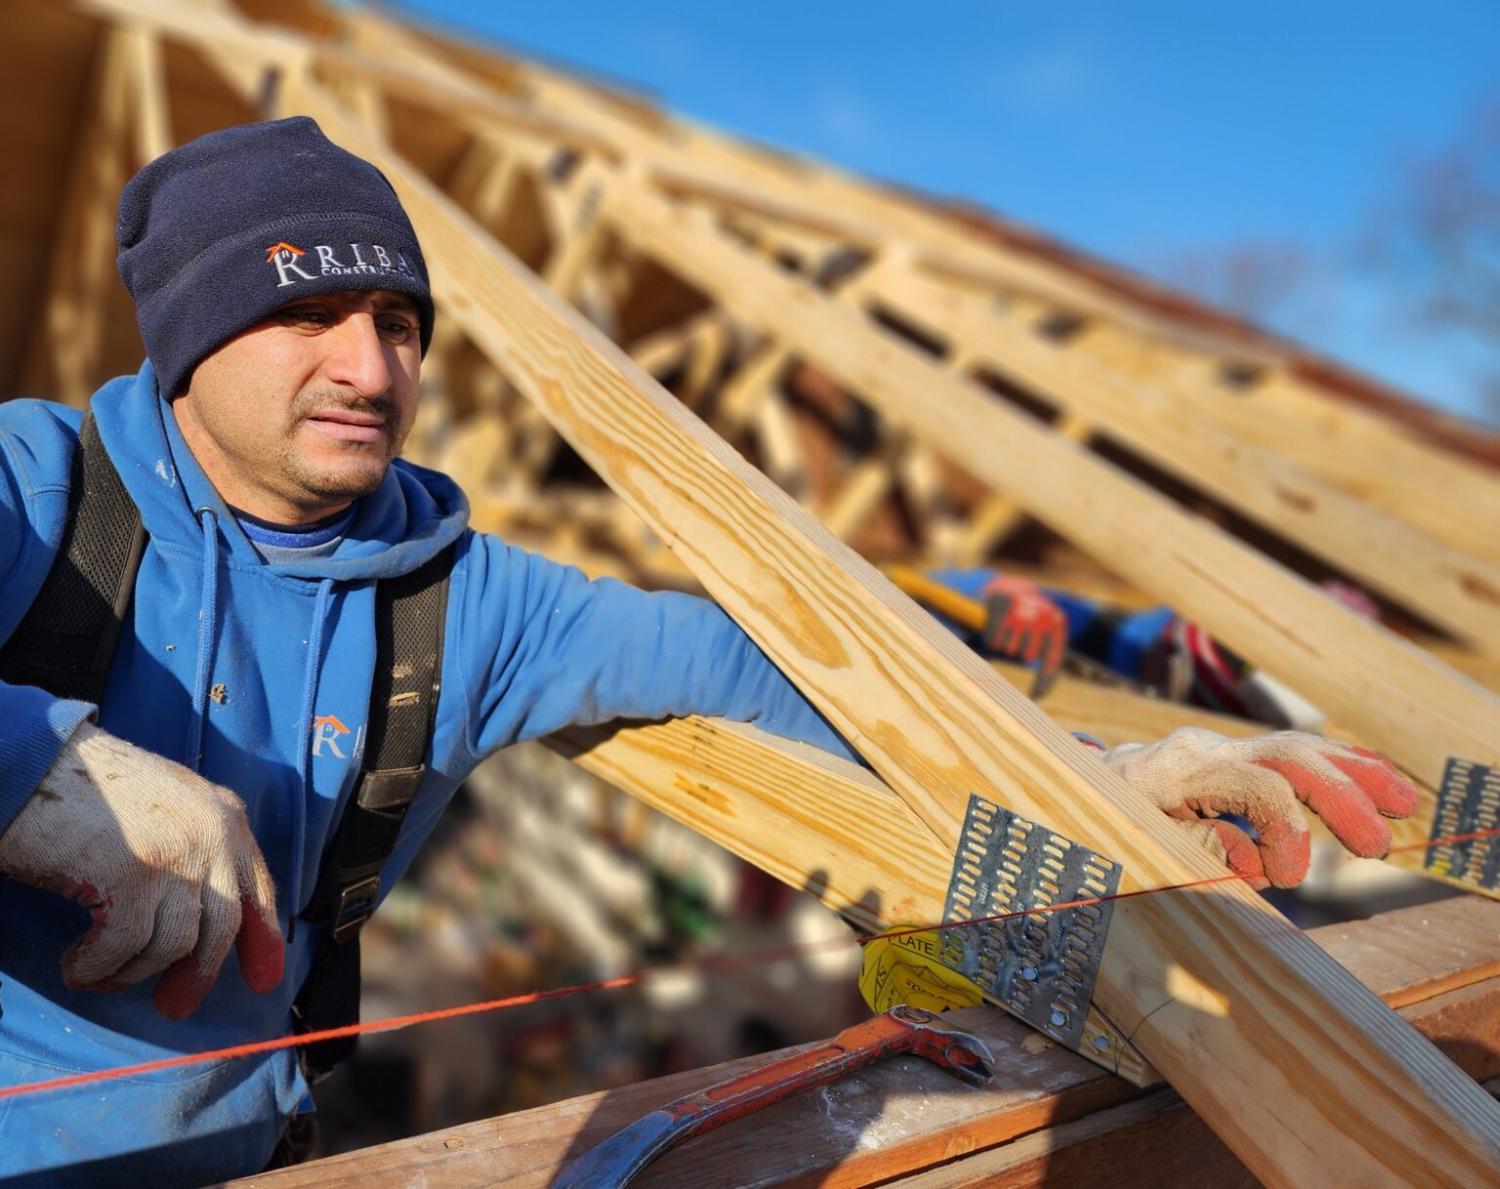
Replacing a roof is disruptive for a short time, but knowing the sequence makes the work easier to manage. This guide explains what happens before the crew arrives, what you may see on installation day, and what documents to collect when the job is complete.
Before the crew arrives
Your contractor should confirm the start date, expected duration, materials, payment schedule, and project contact. Move cars out of the driveway and clear fragile items from attic shelves. Roof work creates vibration, so secure hanging items and let the crew know about finished attic rooms, skylights, or areas that need extra protection.
- Keep children and pets away from ladders, materials, and the work zone.
- Move patio furniture, grills, planters, and wall decorations near exterior walls.
- Tell neighbors about delivery timing and daytime noise.
- Confirm where the dumpster or trailer will be placed.
- Ask how landscaping, windows, siding, gutters, and driveways will be protected.
Step 1: Arrival and site protection
The crew typically arrives in the morning and reviews the plan with the supervisor. Ladders, safety equipment, tarps, plywood, and ground protection are placed before tear-off starts. In our experience, a short property walk at the beginning prevents confusion later. Point out hose bibs, outdoor outlets, gates, fragile plantings, and the best route to the attic or roof access.
Step 2: Tear-off and inspection
Workers remove the old shingles and underlayment down to the roof deck. The deck is then inspected for soft spots, rot, water staining, nail pops, and areas that do not provide a solid fastening surface. Hidden damage is one reason a final price can change. A professional contractor documents the area, explains the repair, and follows the contract’s change-order process.
Important note
Do not let an exposed roof sit unprotected. If weather interrupts the work, ask how the roof will be covered and when the crew will return.
Step 3: Decking, flashing, and water-shedding details
Once the deck is sound, the crew addresses flashing around chimneys, walls, skylights, vents, valleys, and other penetrations. These areas deserve attention because water changes direction there. The crew may also replace pipe boots, drip edge, or damaged sections identified in the written scope.
What we commonly find is that homeowners focus on the shingle color while the long-term performance depends on details that are harder to see. Ask for photos of flashing and valleys before the final cleanup.
Step 4: Underlayment and ventilation
New underlayment is installed over the prepared deck. The specified ventilation components are installed or preserved, including intake at the soffits and exhaust near the ridge when the roof design supports it. Ventilation should be balanced; adding an exhaust vent without a clear intake path does not solve every attic problem.
Step 5: Shingle installation
Shingles are installed according to the manufacturer’s instructions. That includes starter strips, fastener placement, courses, valleys, ridge caps, and penetrations. The supervisor should check that materials match the approved estimate and that the installation follows the selected product system.
| Project stage | What you can expect |
|---|---|
| Morning setup | Crew arrival, safety equipment, tarps, material staging |
| Tear-off | Noise, vibration, debris control, deck inspection |
| Installation | Underlayment, flashing, shingles, ridge and edge details |
| Cleanup | Debris removal, magnetic nail sweep, final walkthrough |
How long does roof replacement take?
A small, straightforward roof may take one day. A medium home often takes one to two days. Larger, steep, complex, or storm-damaged roofs can take longer. Rain, high winds, material delays, hidden deck damage, and required inspections can change the schedule. A realistic contractor gives you a range and explains what would cause the work to extend.
Will you need to leave your home?
Most homeowners can remain home, but roof replacement is loud. Tear-off and material movement are usually the noisiest portions. If you work from home, have an infant, or have a pet that reacts to noise, plan for the loudest hours. Keep pets indoors or away from the work area, and close windows and doors when debris is being moved.
Weather delays and overnight protection
Roofing materials need safe working conditions. If rain or high wind arrives, the crew may pause and cover the roof. Ask who decides when work stops, how an exposed section is protected, and how the new start time will be communicated. A short delay is safer than rushing installation in poor conditions.
Cleanup and final walkthrough
Cleanup should include tear-off debris, unused materials, packaging, and stray nails around driveways, walkways, planting beds, and play areas. Walk the property with the supervisor. Review visible flashing, ridge caps, pipe boots, valleys, drip edges, gutters, and roof penetrations. Ask for photos of areas that cannot be seen from the ground.
Collect the final invoice, warranty documents, product information, permit records when applicable, approved change orders, and contact instructions for future service. Keep those records with your home files.
Common homeowner mistakes
- Waiting until installation day to move cars or outdoor items
- Failing to tell the crew about a finished attic or sensitive interior space
- Choosing a material before understanding the full roof system
- Approving extra work without a written price and scope
- Skipping the final walkthrough because the roof looks good from the street
- Throwing away warranty and product documents after payment
How RIBA approaches roof replacement in Fairfax
RIBA Roofing & Exteriors serves Fairfax and surrounding Northern Virginia communities with roof inspections, repairs, replacements, and storm-damage support. The process begins with an inspection and written scope, followed by clear scheduling, property protection, installation, cleanup, and a final walkthrough. The company is a Virginia Class A contractor and CertainTeed Select ShingleMaster.
See RIBA’s Fairfax roofing services or request an inspection and written estimate.
Frequently asked questions
How many days does a roof replacement take?
Many standard homes take one to three days. Roof size, pitch, material, weather, inspections, and hidden decking repairs affect the schedule.
Can I stay home during roof replacement?
Usually yes, but expect loud noise and vibration. Plan a quiet workspace elsewhere if needed, and keep children and pets away from the work zone.
What happens if the crew finds rotten decking?
The contractor should document the affected area, explain why replacement is needed, and follow the contract’s approval process before adding the work.
What should I do with my cars?
Move them away from the driveway and work area before the crew arrives. Deliveries and cleanup may require access throughout the day.
What documents should I keep?
Keep the signed contract, final invoice, product and workmanship warranties, permit records, approved change orders, and completion photos.
Final thoughts
A roof replacement is easier when the scope, timing, protection plan, and final documents are clear. Prepare the property, expect noise, ask questions when conditions change, and complete a final walkthrough. If you are considering a roof replacement in Fairfax, an inspection is the best place to start.
A homeowner’s planning checklist
Use the week before installation to confirm the practical details that are easy to overlook. Check the weather forecast, but do not assume a forecast guarantees a start date. Ask the project contact when the crew will call, where materials will arrive, and how a delay will be communicated. Put the contract and estimate somewhere you can access them during the work.
- Confirm the shingle color, profile, and manufacturer.
- Confirm the scope for flashing, ventilation, drip edge, gutters, and pipe boots.
- Confirm the dumpster location and delivery route.
- Move vehicles before the crew arrives.
- Protect attic belongings from dust and vibration.
- Secure outdoor decorations, planters, and patio items.
- Make a plan for pets, children, and anyone sensitive to noise.
- Save the contractor’s phone number and the supervisor’s name.
During installation, keep communication simple. If you see an unfamiliar material, ask what it is before assuming it is a problem. If you hear a concern from inside the home, tell the supervisor while the crew is still on site. Small questions are easier to answer when the relevant area is open and visible.
What changes the cost or timing?
Roof size is only one part of the project. A steep pitch takes longer to work on safely. Multiple roof planes create more flashing and cutting. Skylights, chimneys, dormers, and additions add detail. Multiple layers may require more tear-off and disposal. Damaged decking, wet insulation, or failed ventilation can add work after the roof is opened.
Material availability can also affect timing. If a specific color or profile is delayed, your contractor should tell you before the scheduled start. Do not approve a substitute without confirming the product, appearance, warranty, and price.
How to handle a concern after the crew leaves
Walk the property during daylight and take photos if you notice loose material, exposed fasteners, debris, or a damaged plant. Contact the project supervisor with the address, location, and photos. A professional company should provide a clear warranty or service process and explain what it will inspect.
Some roof details are not visible from the ground. Do not climb onto the roof to investigate a concern. A qualified roofing professional can inspect it safely and determine whether the issue is cosmetic, an installation concern, or unrelated to the replacement.
Pro tip
Take your own before-and-after photos from the ground. They create a useful record of landscaping, exterior walls, gutters, and roof details before work and after cleanup.
Why a written process builds trust
Roof replacement involves many decisions that happen quickly. A written scope gives you a reference when the crew is on the roof and the old materials are removed. It also helps the contractor explain what is included, what is a possible allowance, and what requires approval. Clear records lower the chance of a surprise and make warranty service easier later.
Based on our real-world experience, homeowners feel most comfortable when they know who will answer questions, how the property will be protected, how weather delays are handled, and what documents they will receive at the end. Those are simple process details, but they shape the entire project.
Questions to settle before the start date
Ask where the crew will park, how material deliveries will be timed, and whether a family member needs to be home for access. Confirm the best phone number for same-day questions. If you have solar panels, satellite equipment, a skylight, or a chimney, ask whether another trade is involved and how that coordination affects the schedule.
Ask how the company handles leftover materials. A few spare shingles can help with a future repair, but they should be labeled and stored somewhere dry. Confirm whether the final walkthrough includes a review of attic access, gutters, downspouts, and exterior trim that may have collected granules or dust.
After the project, keep a simple maintenance record. Note the installation date, product name, warranty contacts, and any later inspection. Look at the roof from the ground twice a year and after major storms. If you see a change, document it early and ask a professional to evaluate it. Early attention can make a small repair easier to manage.
Good documentation also helps with future ownership. Keep the inspection report, material details, photos, and warranty information with your home records. If you sell the property, these records give the next homeowner a clearer history of the roof and the work completed.
When in doubt, ask for the recommendation in writing. A straightforward explanation of the condition, the proposed work, and the reason for each step is one of the best signs that you are working with a professional.